
 Good price
 Professional solutions
 Phone consultation
+370 657 86 751
Proper installation of railing posts is essential for the stability and safety of a railing system. The fixing method depends on the type of post, its mounting base and the supporting surface – concrete or wood.
Before installation, select suitable fixing elements, check the condition of the supporting structure and prepare the required tools. Different railing posts require different numbers and sizes of anchors or screws.
Choose the appropriate railing posts according to the railing design, installation location and supporting structure. You can find stainless steel posts for balconies, terraces and staircases in our railing posts category.
The number and diameter of fixing elements depend on the post base:
Always check the dimensions and fixing holes of the selected post before choosing the fasteners.
Depending on the supporting surface, you may need a hammer drill, concrete or wood drill bits, a diamond hole saw for tiles, a measuring tape, a marker, a spirit level and suitable spanners.
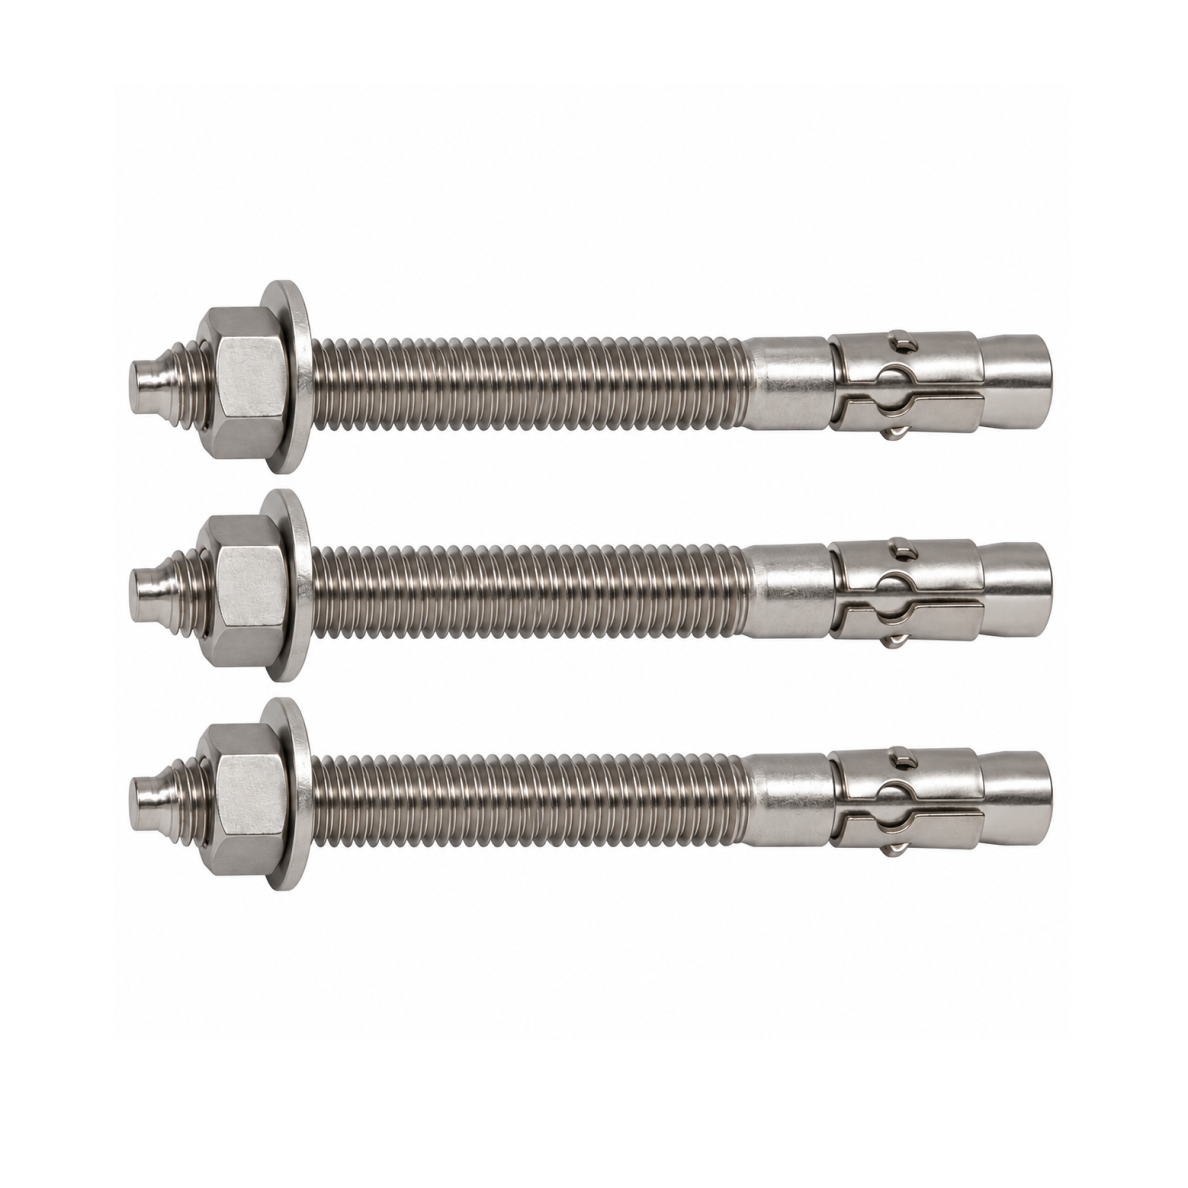
For the M8 expansion anchors shown in this guide, an 8 mm concrete drill bit is used. If the concrete is covered with ceramic or porcelain tiles, a 10 mm diamond hole saw is required to create sufficient clearance for the anchor's expansion sleeve.
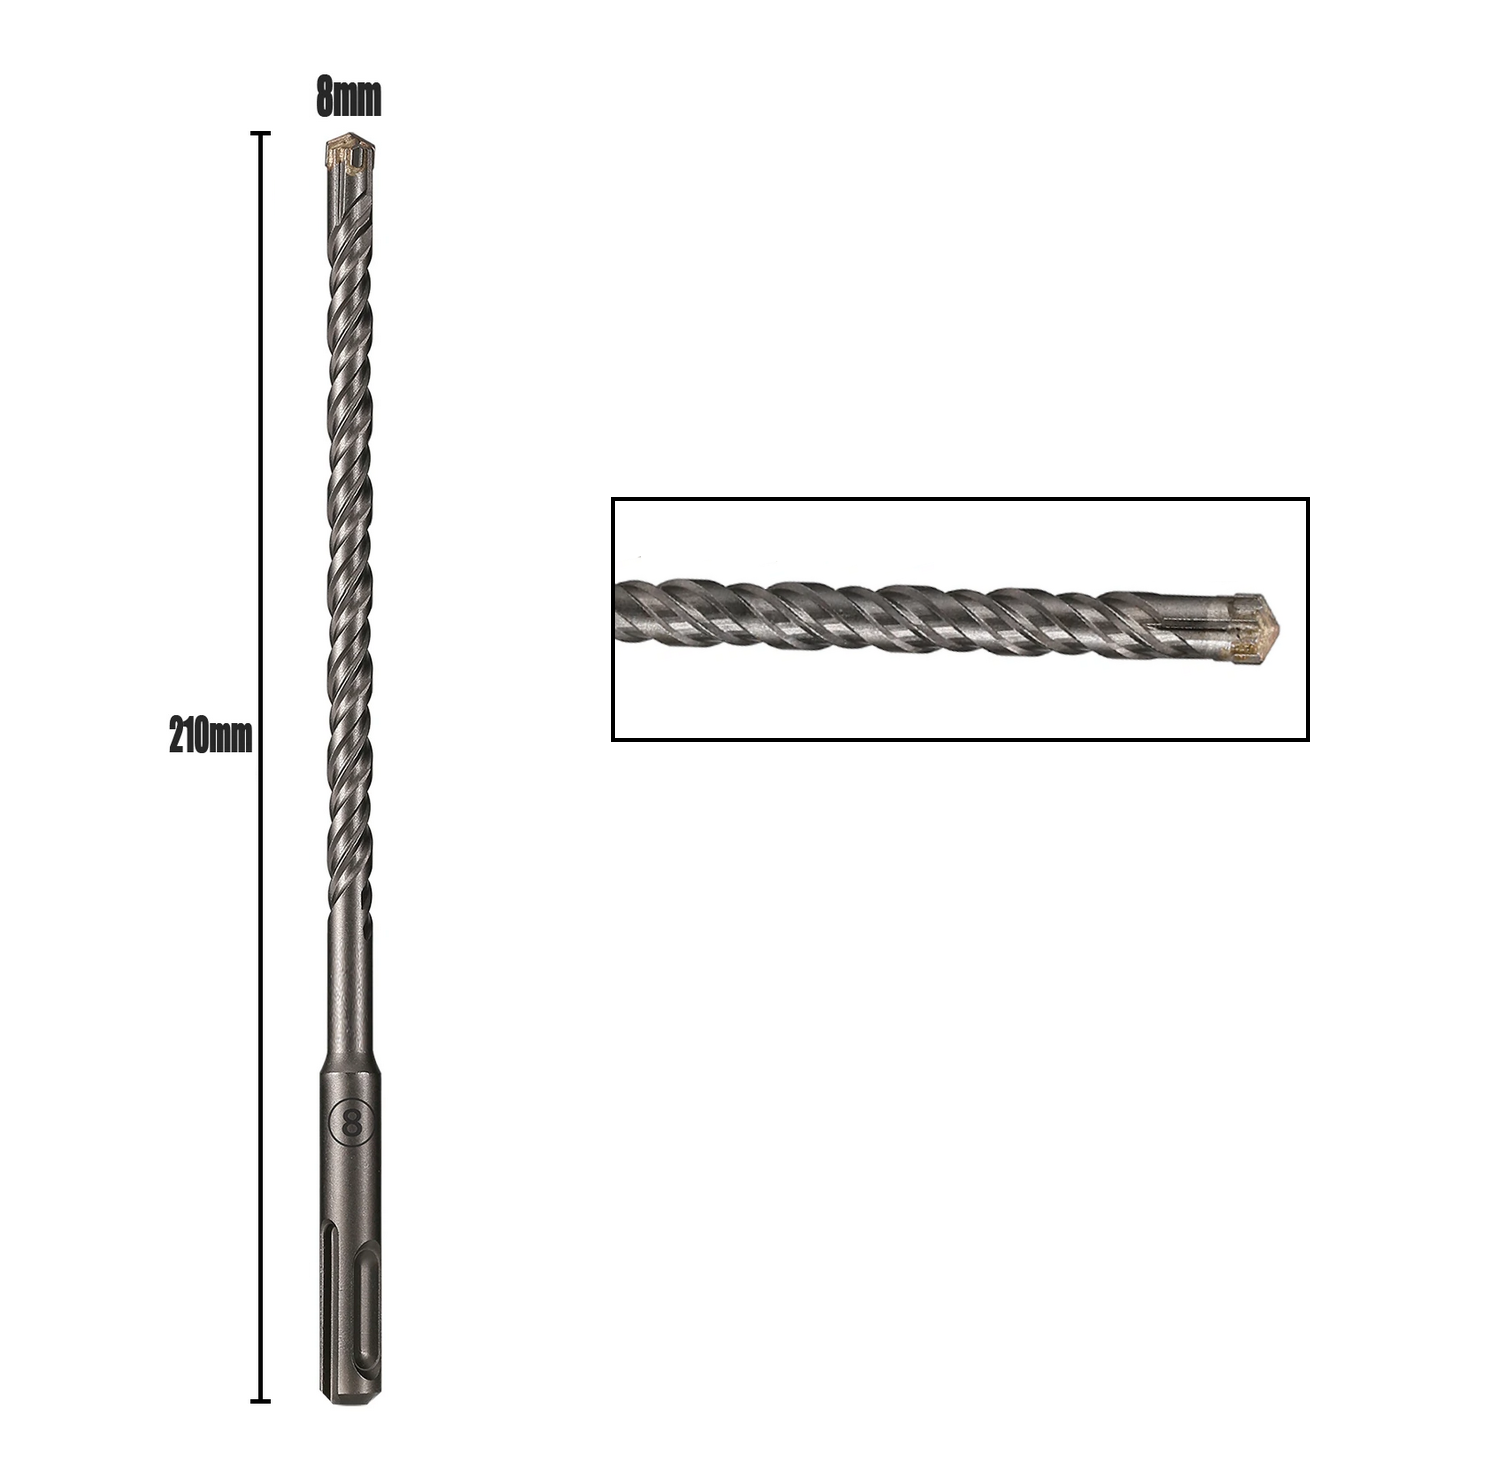
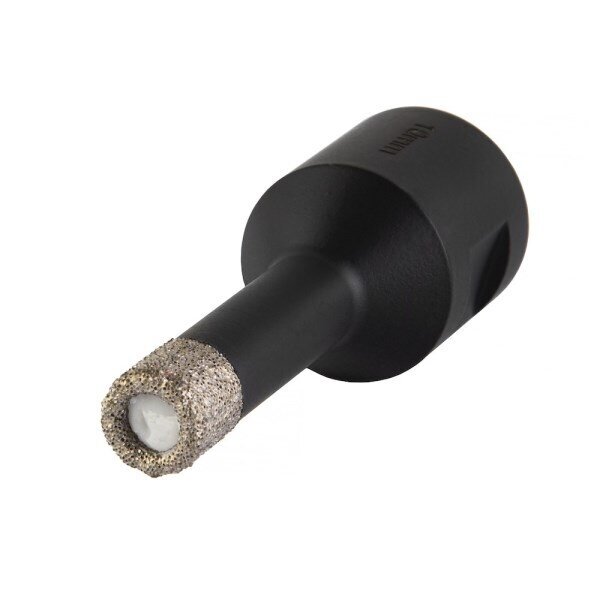
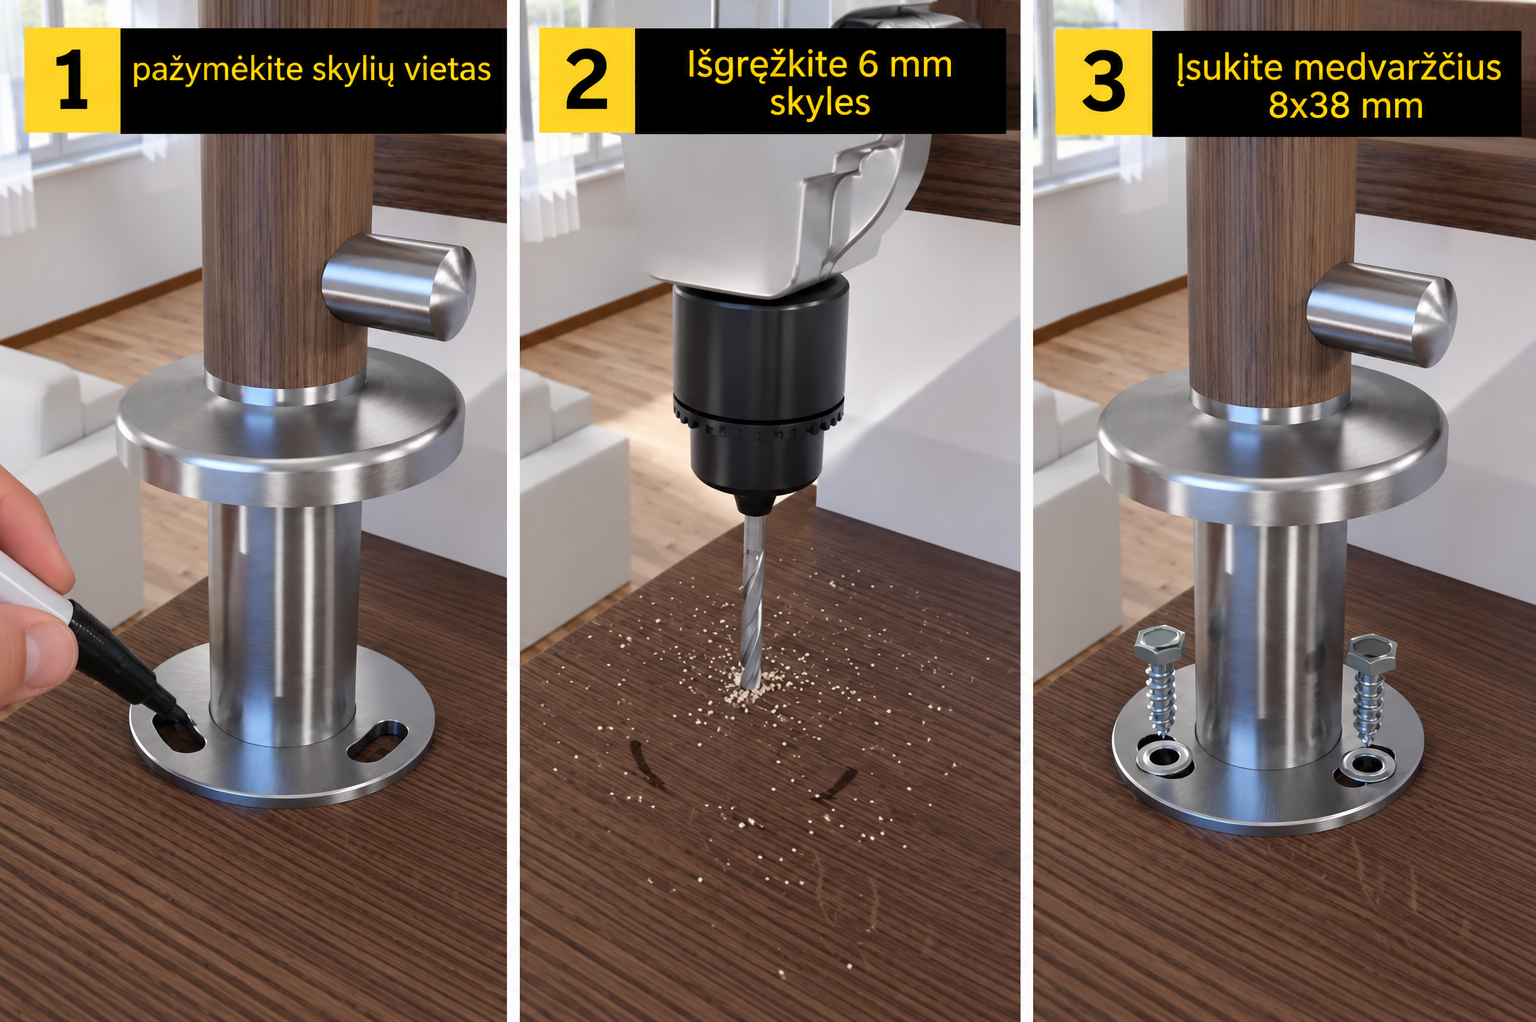
Position the railing post on the selected installation surface. Check its alignment and mark the fixing points through the holes in the mounting base.
Before drilling, check the marked positions and ensure that there are no hidden electrical cables, water pipes or other services beneath the installation surface.
For suitable solid concrete substrates, stainless steel A2 expansion anchors can be used. The anchor diameter and quantity must correspond to the mounting base of the selected railing post.
Installation steps:
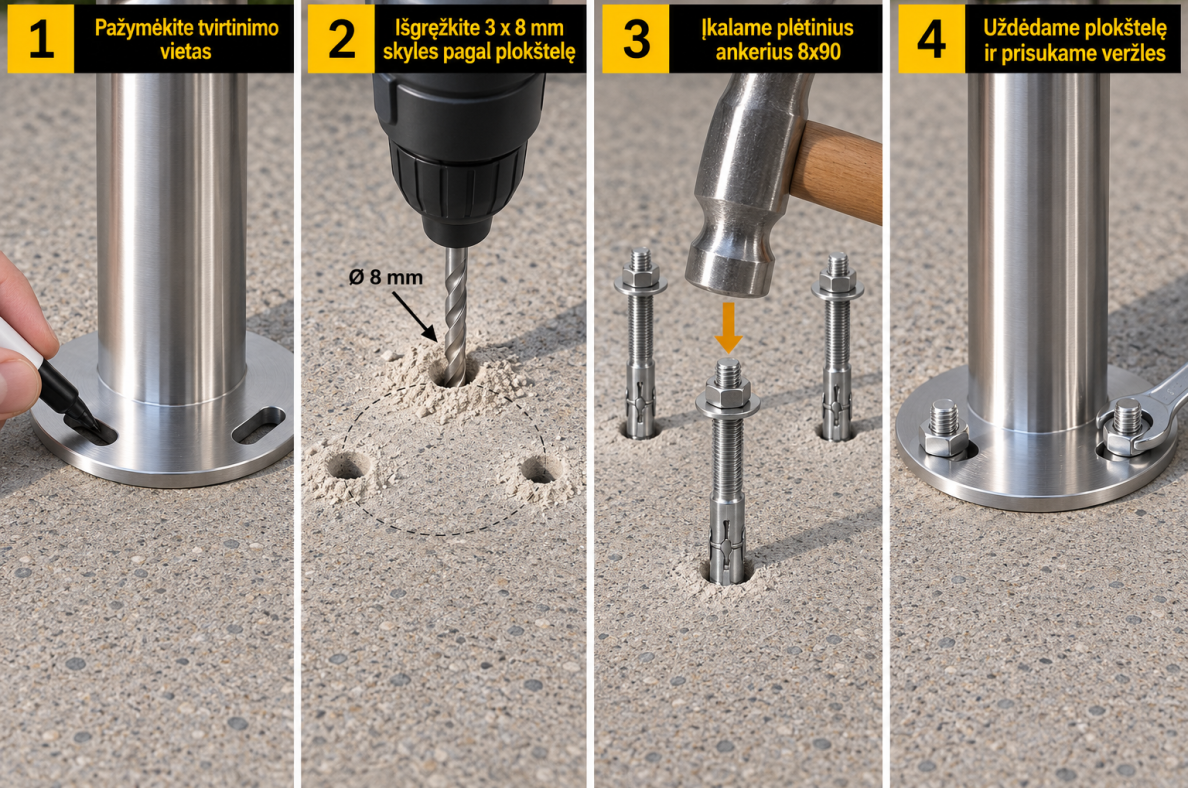
Important: The 10 mm tile hole is a clearance hole for the M8 anchor sleeve. The concrete hole is drilled with an 8 mm drill bit, according to the anchor manufacturer's specifications. Do not use the 10 mm tile drilling diameter for the concrete anchoring hole.
For railing posts with three fixing points, three suitable anchors are required. Square posts with four fixing points require four anchors. Side-mounted posts with M10 fixings require a different anchor size and the corresponding drilling dimensions.
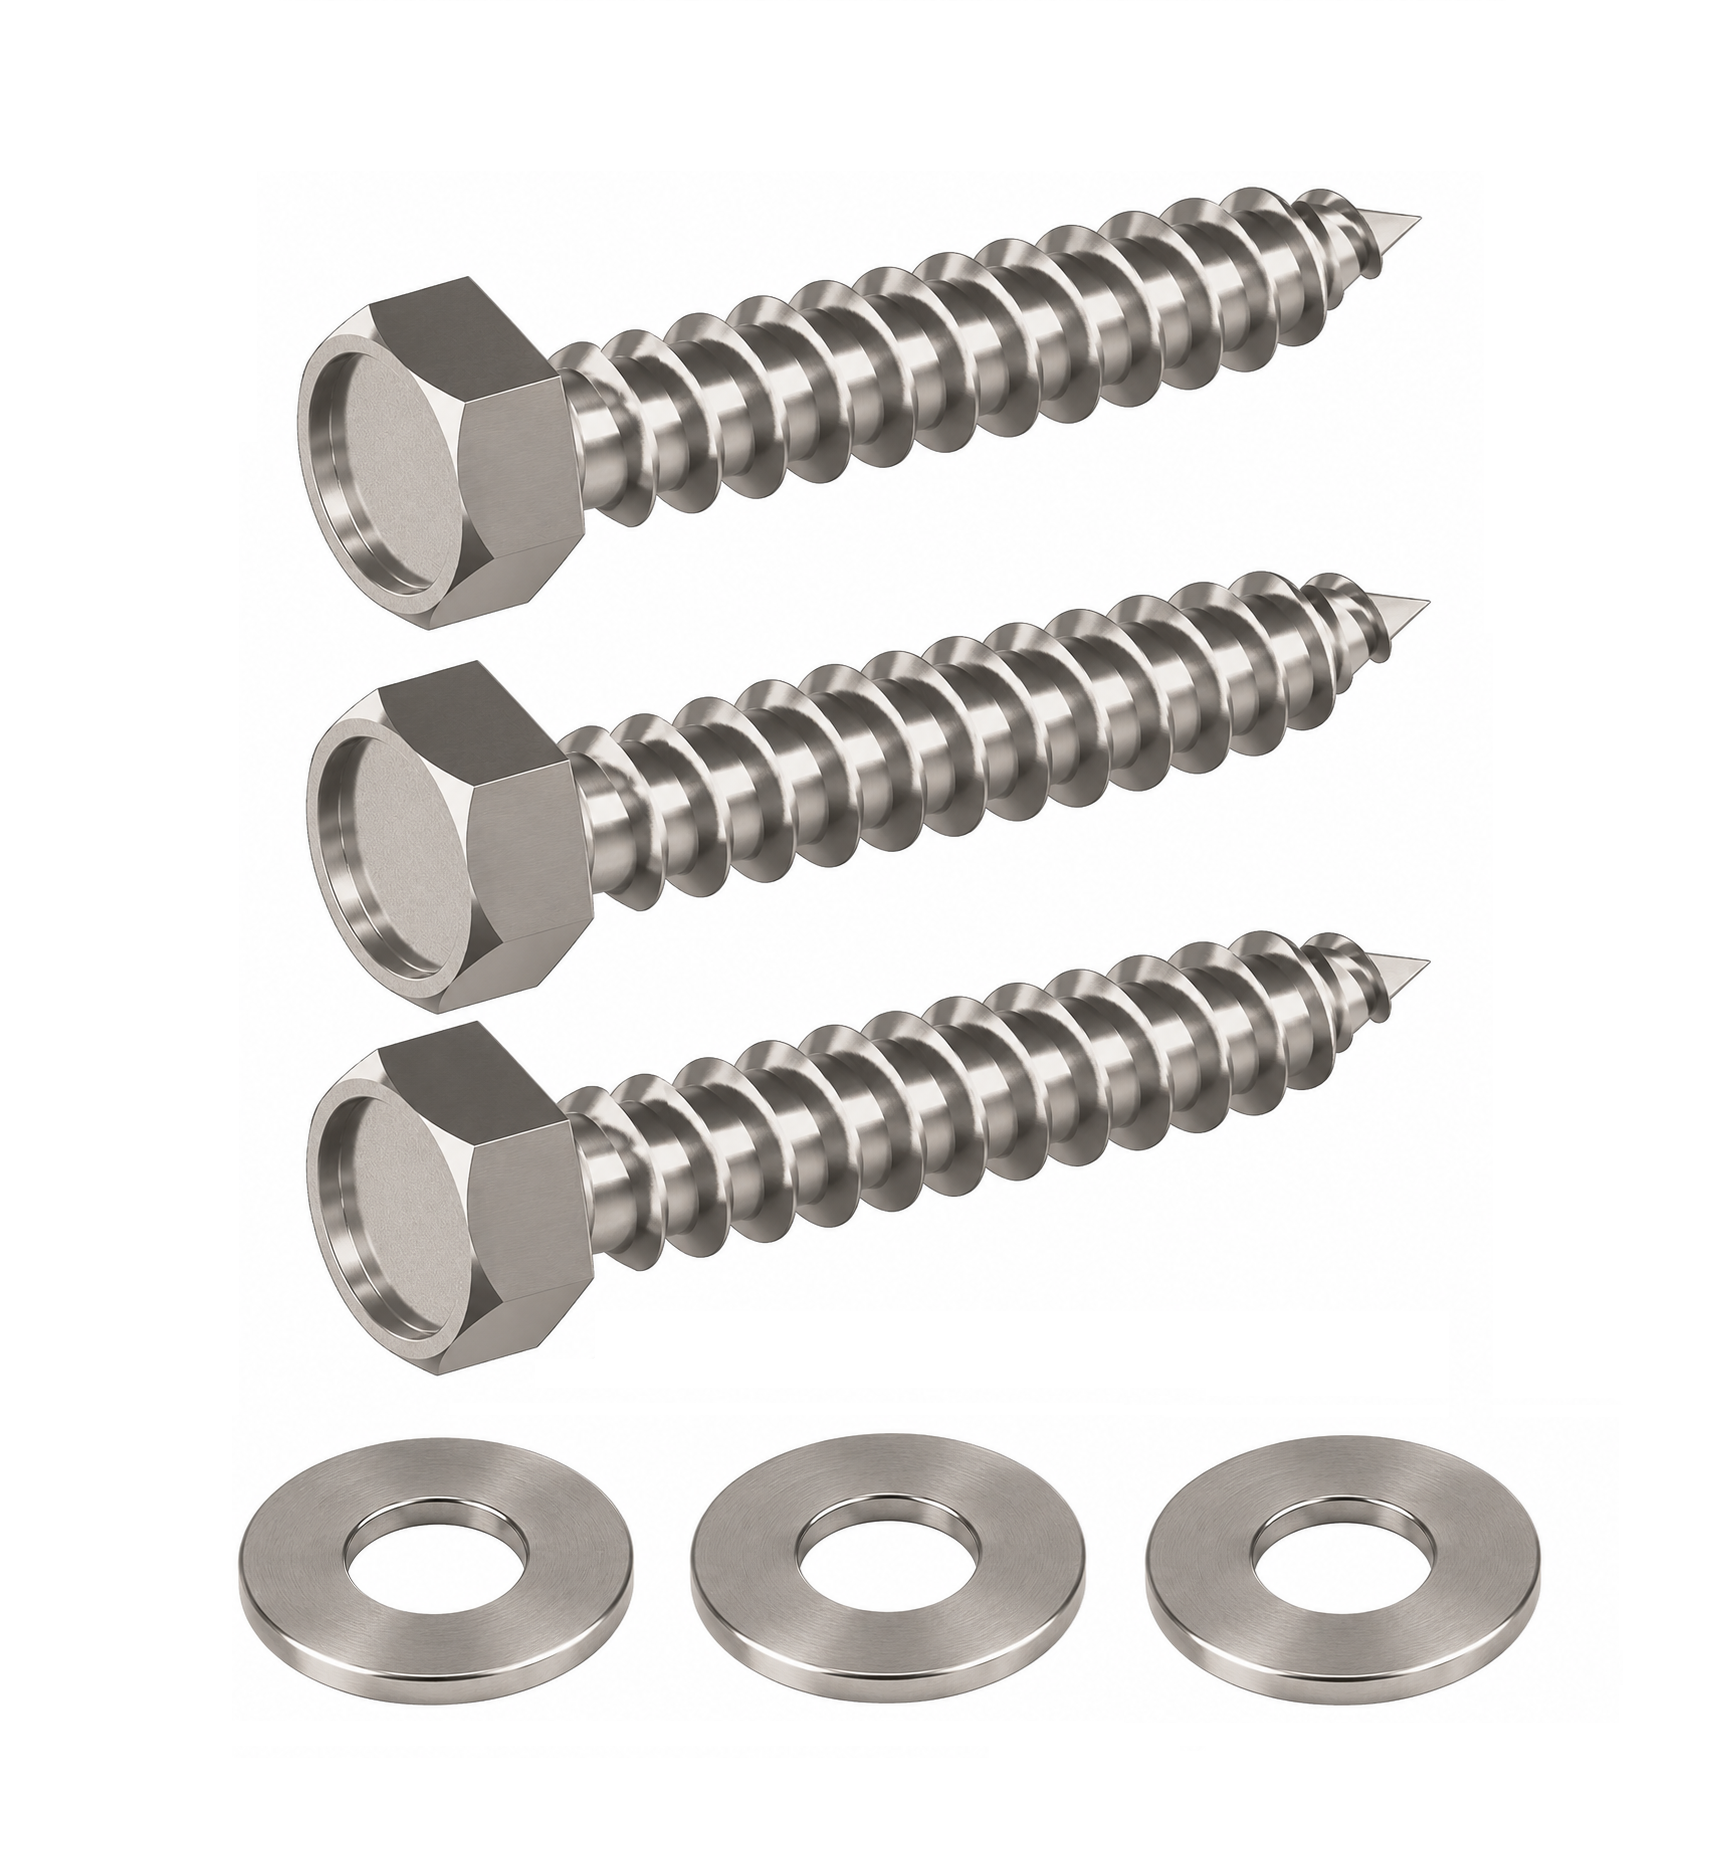
When installing railing posts on a suitable structural timber base, stainless steel wood screws can be used. The timber must be strong enough to withstand the loads transferred by the railing system.
For the 8x38 mm wood screws shown in this guide, a 6 mm pilot hole is used, provided that this diameter is suitable for the timber and screw specifications.
Installation steps:
Depending on the timber structure and railing design, M10 double-ended wood-to-metal studs or M10 threaded rods with through-bolting can also be used. Through-bolting requires access to the opposite side of the timber and suitable washers or load-distribution plates.
These alternative fixing methods are particularly relevant where M10 threaded connections are required, including certain side-mounted railing posts. The fixing arrangement must be selected according to the actual structure and expected loads.
After tightening all fixing elements, check that each railing post is correctly aligned and firmly secured to the supporting surface. The mounting base must sit evenly against the substrate without unwanted movement.
Do not overtighten anchors or screws, as this may damage the fixing elements, timber or installation surface. Follow the manufacturer's specified tightening torque and installation requirements.
Once the posts have been secured, continue assembling the railing system according to the selected design.
Railing systems are safety-critical structures. The required anchor diameter, embedment depth, number of fixing points and fixing method depend on the supporting material, railing height, design loads and installation conditions.
The installation examples shown here are general guidance for the illustrated fixing elements. They do not replace structural calculations, manufacturer installation instructions or applicable building regulations.
Particular care is required when fixing posts close to concrete edges, onto tiled surfaces, into timber structures or to the side of balconies and staircases. If the suitability of the supporting structure or fixing method is uncertain, consult a qualified specialist.
Explore our railing posts collection to find suitable stainless steel posts for your project.
